DIY Football Ball Launcher Machine Project
Introduction
Soccer, a beloved global sport, demands continuous practice and skill improvement. To aid in this pursuit, the DIY Football Shooter | Soccer Ball Launcher Machine offers a sophisticated yet straightforward solution for players at all levels. This machine is designed to replicate various types of ball deliveries, allowing players to focus on their technique without needing a partner.
How the Football Ball Launcher Works
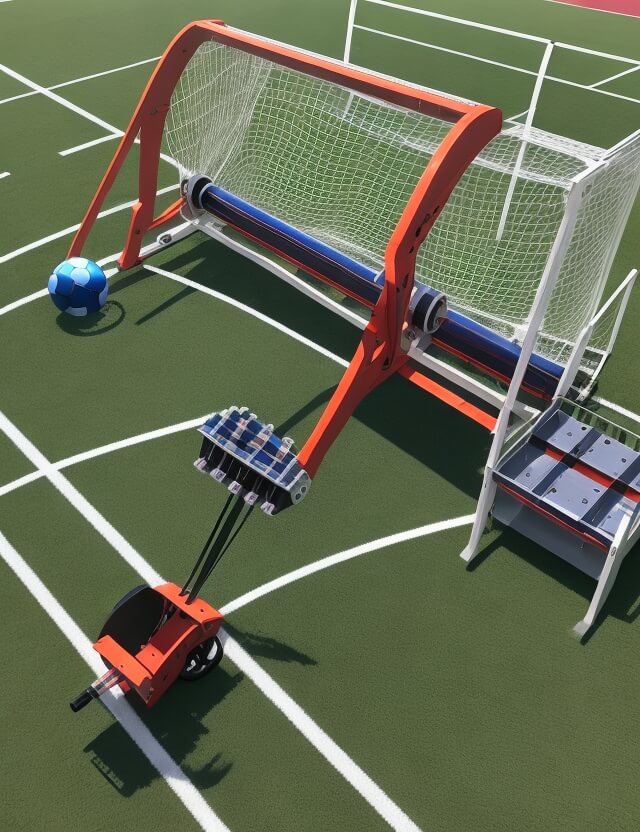
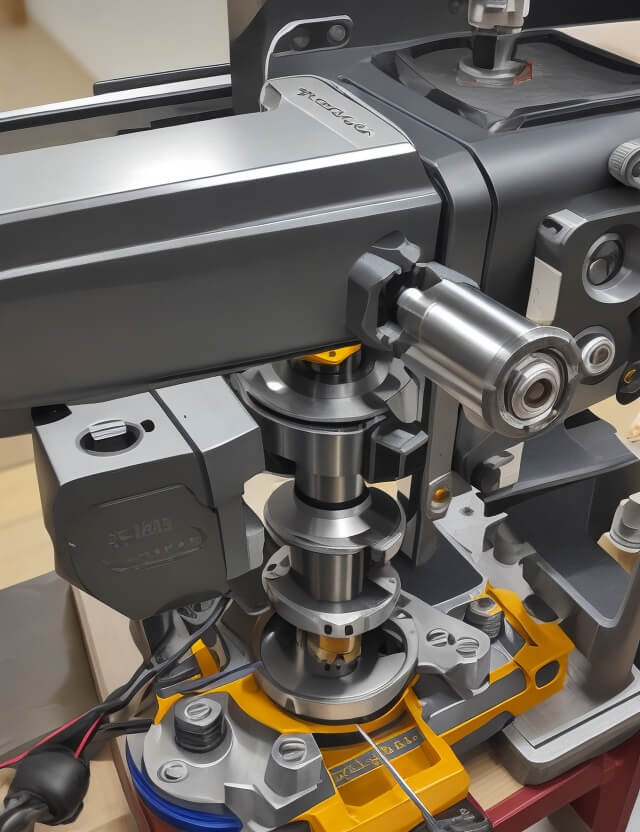
- Dual High-Torque Motors: The heart of the machine lies in its two high-torque motors, each equipped with a pulley wheel. These motors spin in opposite directions, propelling the ball with dual-speed action for a powerful launch.
- Stepper Motor for Angle Adjustment: A stepper motor allows players to adjust the vertical angle of the ball launcher, catering to a range of drills from ground passes to aerial balls.
- Servo Motor for Triggering: A servo motor controls the triggering mechanism, releasing balls into the path of the spinning wheels at precise intervals.
Key Features
- Mobility: Mounted on a trolley with caster wheels, the launcher is easily movable across the field, allowing for various shooting positions and angles.
- Ball Queue System: The soccer ball holder can queue up to two balls at a time, ensuring a smooth and continuous practice session.
- Customizable Settings: Players can adjust the speed, angle, and frequency of the shots to mimic different types of passes and shots, making the training as realistic as possible.
Components
- DC High Torque Motors: For driving the ball with the desired speed.
- Motor Drivers: To control the speed and rotation of the motors.
- Stepper Motor & Servo Motor: For adjusting the shooting angle and triggering the ball release.
- Structural Elements: Including a trolley frame, caster wheels, connecting rods, bearings, and a supportive framework to hold everything together.
- Electronics: Buttons and switches to control the various aspects of the launcher’s operation.
Advantages
- Skill Improvement: Allows players to practice receiving, shooting, and heading without needing a partner.
- Versatility: Adjustable settings make it suitable for various drills and player levels.
- Efficiency: Enables rapid, repetitive shooting for intensive training sessions.
Conclusion
The DIY Football Shooter | Soccer Ball Launcher Machine is an invaluable asset for any soccer enthusiast looking to improve their game. Its ability to deliver precise, high-speed balls consistently makes it an ideal tool for a wide range of drills and skill levels. With this machine, players can focus on enhancing their technique, reaction time, and overall game performance.
Sample Code
Components Needed:
- Arduino Uno or any other compatible microcontroller
- 2x High Torque DC Motors for launching the ball
- Motor Drivers for DC Motors (e.g., H-Bridge like L298N)
- 1x Stepper Motor for adjusting the vertical angle
- 1x Servo Motor for triggering the ball release
- Power Supply or Batteries
- Various structural components (not included in the code)
#include <Servo.h>
#include <Stepper.h>

// Constants and variables
const int triggerPin = 9; // Servo motor pin
const int stepPin = 3;   // Stepper motor pin
const int motorPin1 = 5; // DC Motor pin
const int motorPin2 = 6; // DC Motor pin

// Define the stepper motor connections and steps
Stepper myStepper(stepsPerRevolution, 8, 9, 10, 11); // Update pins as per your connection
Servo triggerServo;  // Create servo object for triggering mechanism

void setup() {
  // Initialize all motors
  triggerServo.attach(triggerPin);
  pinMode(motorPin1, OUTPUT);
  pinMode(motorPin2, OUTPUT);

  // Set initial positions or speeds
  triggerServo.write(0); // Initial position of trigger
  myStepper.setSpeed(60); // Set the speed of the stepper (RPM)
}

void loop() {
  // Rotate DC motors to launch the ball
  analogWrite(motorPin1, 255); // Full speed
  analogWrite(motorPin2, 255); // Full speed
  delay(2000); // Wait for 2 seconds

  // Trigger the ball release using servo
  triggerServo.write(90); // Adjust the angle as needed for releasing the ball
  delay(1000); // Wait for 1 second
  triggerServo.write(0); // Reset the trigger position

  // Adjust the angle of the launcher using stepper motor
  myStepper.step(stepsToMove); // Move the stepper to the desired angle

  // Add your logic for when to trigger and how much to move the stepper

  delay(10000); // Wait for a bit before launching the next ball
}
In order to download the PDF, You must follow on Youtube. Once done, Click on Submit
Follow On YoutubeSubscribed? Click on Confirm
Download DIY Football Ball Launcher Machine Project PDF